Professional Development

Poolside Proficiency

Want to get your students excited to start class? Start by having them join a Jam of the day! When I first started using Jamboard, it felt much clunkier and lagged more than Slides, so I did not use it very often. However, Jamboard has received some significant updates the past few months which has made it more functional than ever.
Share
Want to get your students excited to start class? Start by having them join a Jam of the day! When I first started using Jamboard, it felt much clunkier and lagged more than Slides, so I did not use it very often. However, Jamboard has received some significant updates the past few months which has made it more functional than ever. Google for Education has announced that another update is coming soon, which will allow for search history on Jams to see who has contributed what and when.
At its core, Jamboard is a virtual collaborative whiteboard. Within that whiteboard, there are options to add many things, including backgrounds, text, shapes, images, screen shots, and sticky notes. Individual Jamboards are called Jams, and you can have up to 20 Jams going at a time. Although you cannot assign Jams using “@” like you can with Google Slides and Google Docs, it is easy to assign students to Jams by adding sticky notes indicating which student or group of students is assigned to each.
Curious to know what you can do with a Jamboard? Here are five of my favorite ways to use it:
One of the most useful things I have learned in using Jamboard is that screenshots can be used as backgrounds in Jamboard. Often, I will use Google Drawings, Slides, or Docs to create a background, take a screenshot of that background, and then insert that screenshot as a picture background in Jamboard. For Jamboard Bingo, I create a background table in Slides, using the proper dimensions by following this path: File > Page Setup > Custom > enter 1920 x 1080 pixels. I like to use a black background with white writing, for high contrast, and I arrange the table as either 4 x 3 or 4 x 4, but you could add a full 5 x 4 or 5 x 5 bingo board.

Next, I type the vocabulary words from a recently-read passage into the table. I also add pictures that are associated with each word. You could use the same pictures as the markers for the bingo game, but I like to use images associated with the words so students associate the pictures with the word in the target language.
Then, I make the bingo an assignment in Google Classroom and choose the option to make a copy for each student. If you do not use Google Classroom, you take the original link, delete the end of the link that starts with edit, and then add copy instead. If you do that, the shared link will force each person who clicks the link to make a copy to their Google Drive.
After this, I call out the words or read a passage with the words in the primary language. Then, as the words are called, students move the pictures to cover the words. When students have 5 in a row (FELIX, or “lucky” in Latin), they are declared the victor. Then, I usually have the student share their screen to show their bingo, which gives students yet another chance to review the words in the target language.
For Jamboard Flyswatter, the setup is very similar to bingo, with a similar table that includes the words in the target language. I include three sticky notes labeled Player 1 on the left side, Judge under the board, and Player 2 on the right side. Then, I add pictures for each of the words under each of the players.
When I have created a Flyswatter Jam, I have made several copies of the Jams. Then, I split up my students into groups of three. In these groups, students put their respective names on the sticky notes that apply to their role. Rather than adding fly swatters in advance, I let students pick their own pictures to add some fun. To keep things as fair as possible, the players must start with their fly swatter on their sticky note that says their name.
When a student gets their fly swatter to the word first (as determined by the judge), that student gets to move the picture associated with that word to the box with the word. And the student who puts 10 pictures on the board first wins!
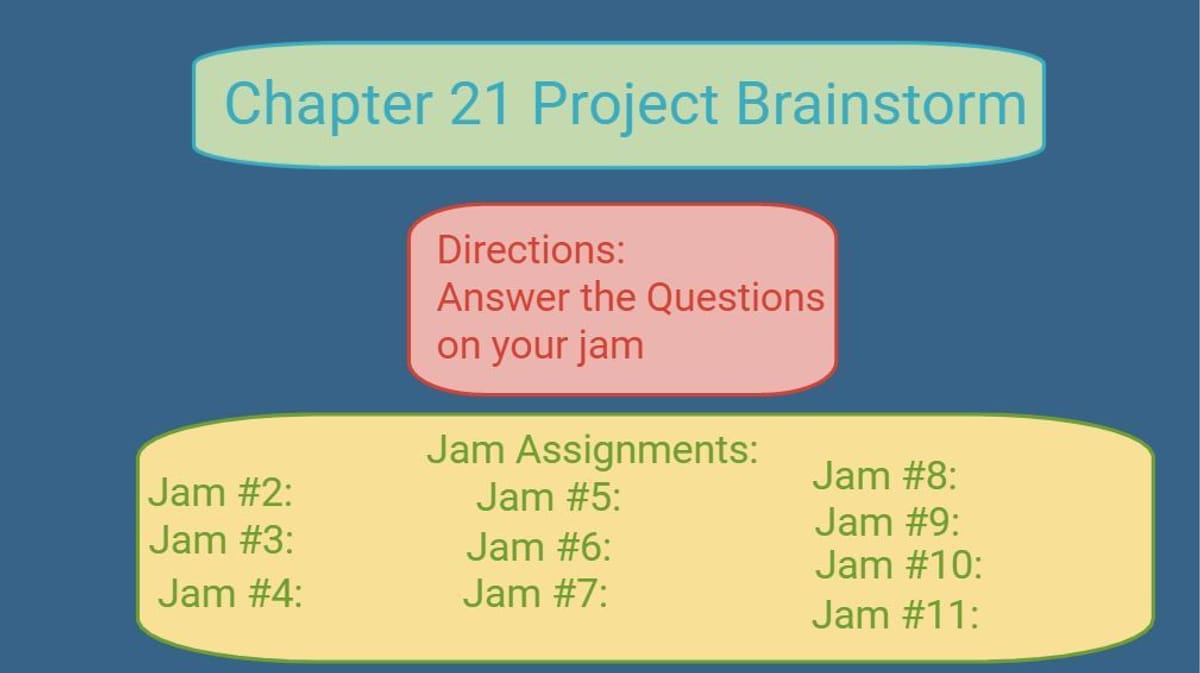
I enjoy using Jamboard for brainstorming with my class. As a warmup, I share a Jamboard with my students at the beginning of class. On each Jam, I include a question for students to answer on sticky notes or using pictures or gifs.
I also use Jamboard for notetaking. For this, I either make a copy of the Jam for each student, or if I have fewer than 20 students, I assign a Jam to each student and duplicate them. In structured note taking, I use the shapes to create spaces where I ask questions using textboxes. Usually, I ask the question using one color and textbook. Underneath each question, I put the words “Place answer here” in a different color font. As students answer each question, they erase the text and place their answer underneath the question.
Many students have told me they enjoy taking their notes in this structured way, and it allows me to give students feedback as they take notes. I ask students to use green sticky notes to ask questions, and as I scroll through the Jams, I can answer questions as they appear on each Jam. By doing this, I found that many more students were asking questions than had been previously asking questions either orally or in the chat on Zoom.
One of my favorite warm up activities is to ask students questions in small groups where they can discuss their preferences in agree/disagree or personal interview Jams. Usually, I pair students up, and they answer a series of two or three questions.

As students are answering the questions on the Jams, I read through the answers and create one question about each student on a true/false Jam based on the answers from the Agree/Disagree statements. Then, we go through the true/false statements. On each Jam, I have taken a screenshot of each student’s name. This may seem like an arduous task, but I took these screenshots once, and now I make a copy of this Jam and modify the statements each time I do this true/false activity. The background on each Jam consists of two shapes: one red circle that says “Falsum” (False), and one green circle that says “Verum” (True). There are statements in the target language, written on sticky notes, in between the circles. Students move their own names to the circle that they believe is correct for each statement.
I have used Jamboard for two different kinds of Jumbles, but there are many different ways this could be done. You could use Jumbles for putting pictures that demonstrate the events of a story in order, putting translations in order, putting captions in the correct order to match cartoons, and more.
Click the link below to see examples of each of the activities I discussed! If you have access to a Jamboard, feel free to use my ideas, but I also encourage you to think outside the box and come up with your own unique uses.


