story


At a Google for Education conference in 2017, another educator referred to Google Slides as the Swiss army knife of the Google Suite. At the time, I really thought it was just a digital answer to PowerPoint. I had not used it extensively except to upload my existing PowerPoint slides onto my Google Drive.
Share
At a Google for Education conference in 2017, another educator referred to Google Slides as the Swiss army knife of the Google Suite. At the time, I really thought it was just a digital answer to PowerPoint. I had not used it extensively except to upload my existing PowerPoint slides onto my Google Drive.
Well, I was in for a shock when I began exploring all the amazing features! I Immediately started converting almost all my Google Docs to slides because of the wonderful functionality of the program. Some of my favorite key features of Google Slides are the ability to assign slides to different students or student groups, to ask and answer questions interactively, and for students to add notes on their slides.
For note-taking or creating collaborative cartoons (with caption slides), I assign students to different slides with different sections of text.
Once assigned their slides, students can use the comments feature on their assigned slide for questions to their teacher or their peers, and for answering others’ questions. They can also add their own notes in the speaker notes section at the bottom of each slide. Then, students can present their completed work to their peers.
My students’ favorite activity with Google Slides is probably “Choose Your Own Adventure.” You can add links to other slides within the deck. It takes a long time to create a template (I have shared mine below), but once you have it, it is a fun way to engage the students in the target language by making choices and discovering possible consequences of those choices.

Slides can also be used to easily create storybooks. Simply change the layout of the slides to printer friendly 8.5”X11” and insert pictures, using captioned slides for text. Then, students can easily print their storybooks with a normal printer, like they would with a Google doc and get the layout benefits of Google Slides.
Once remote learning started last spring, I found that it was difficult for some students to keep up with all the links in Google Classroom that we were using each day, unless I posted each link in the Zoom chat as we went. As I was trying to come up with a solution to this problem, I came across some amazing organization templates from SlidesMania. I modified one of these templates to create a Wayfinding doc for my students that includes a slide for each day, with a list of all synchronous (in-class) activities and asynchronous (independent work) activities. This deck helps to keep my students organized each day, especially those students who might miss a day or come to class late. Students can follow along, accessing the links and materials for each day and understanding what work will follow that day’s lesson as independent work.

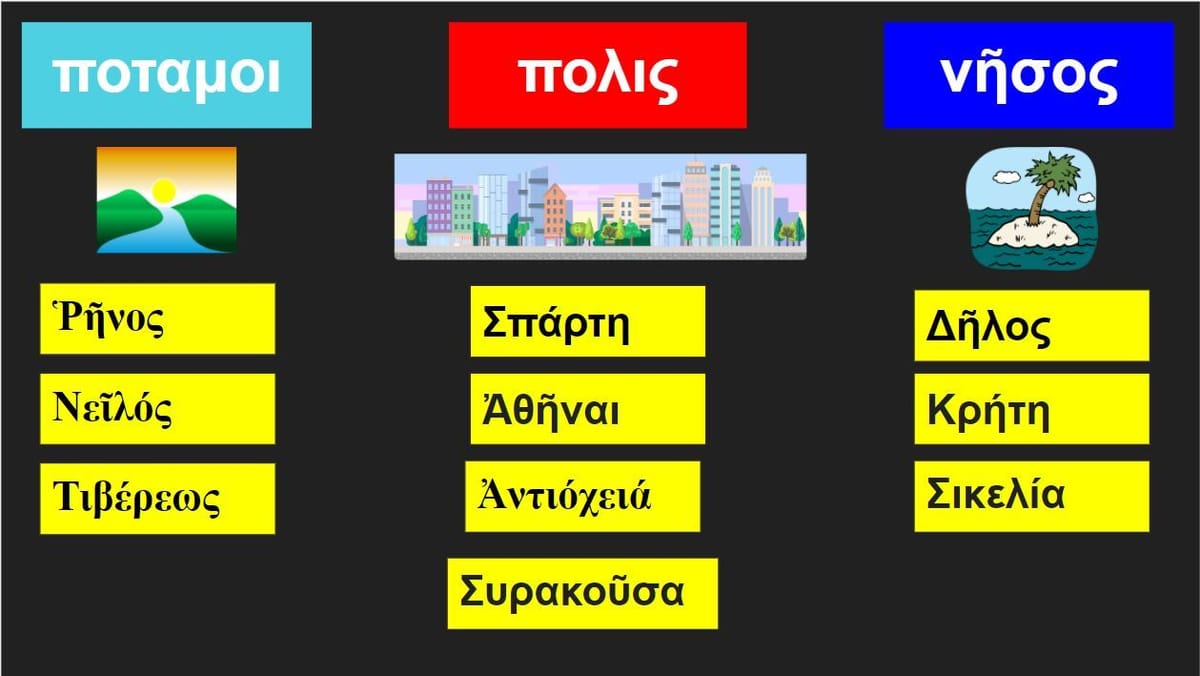
During remote learning, my then kindergartener daughter used Google Slides with sorting, matching, and brainstorming activities, which I have used with great success with my own students. I have linked several examples below that I hope you will find useful. One caveat: If you are creating something for drag and drop, think about using an image or a shape rather than a textbox. It is possible to type into shapes within slides, but it tends to be easy to accidentally mis-format textboxes. You can use screenshots for images, but choose online images within Creative Commons, or otherwise make sure you have permission to use them.
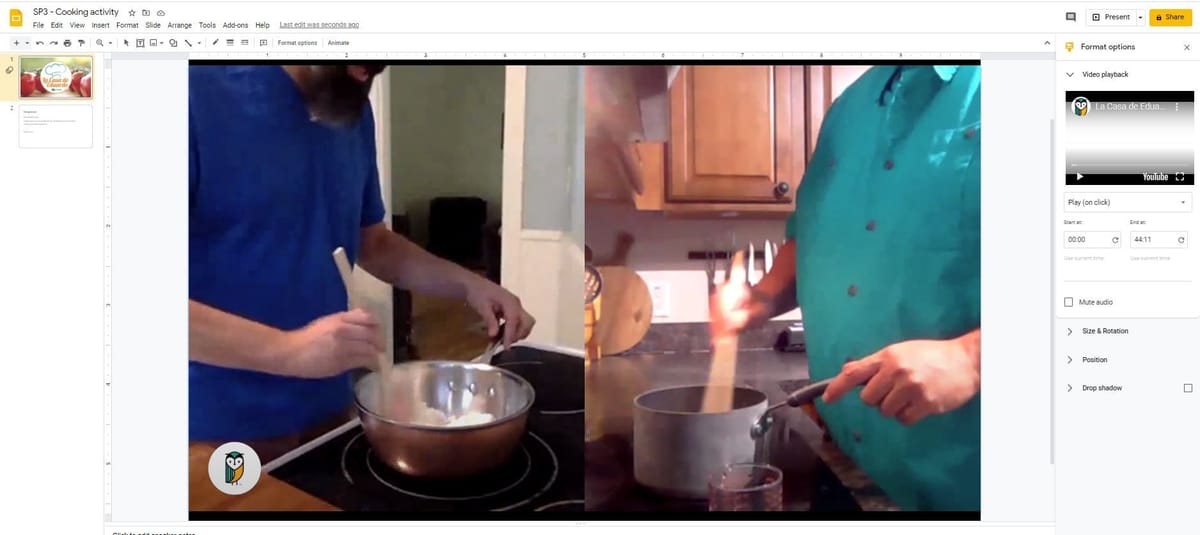
During online learning last spring, I found it cumbersome to watch videos with my students on Zoom. But I discovered I could use Google Slides to easily curate videos directly from Google Drive or Youtube (or by URL). Even better, it is easy to format videos and create clips so that students can view just the part of the video that you want them to view. This way, I can have students watch a clip from a video, come back together to do an activity, and then watch the next part of the video (starting the video again where the last video left off). I recommend making a copy for each student so fewer students are on the document at the same time; otherwise, it can slow loading speeds. You can also insert a video timer from Youtube so that students can keep track of how long they must work on an activity.
Now, you can even easily add audio to Google Slides using the Mote extension. Mote is a great Chrome extension that can be added to Google Slides, Docs, and Classroom by using the comment function. It is free to record up to 30 seconds of audio, add emojis, and listen to an unlimited number of Mote comments. With premium features, you can also transcribe and translate the Mote comments.
Please feel free to check out more of the following examples of Google Slides. If you come up with an idea for Google Slides or want to brainstorm ideas, please let me know. One of the best things that has happened to me with hybrid teaching is learning and sharing with other educators, and I would love to hear from you!

Tags:
Share:
